On MFRv2, we use passkeys as a two-factor authentication solution for collaborators to increase backend access security.
Naming Your Passkey
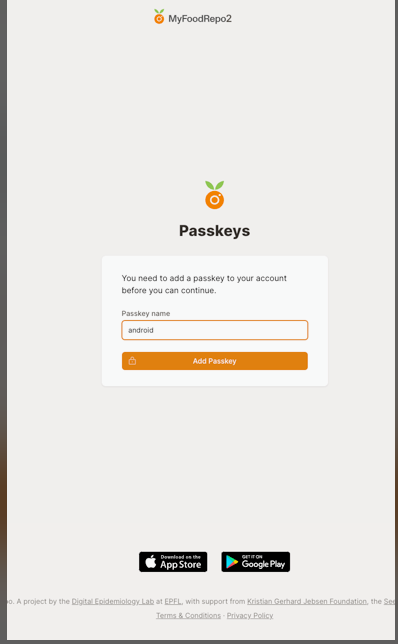
After signing up in MFR2 (with email and password), you’ll encounter a form asking for a passkey name.
Name the passkey according to the device you’ll use for authentication.
This device can be a phone, computer, password manager, YubiKey-like dongle, etc.
In this example, we use an Android phone, so we named the passkey “Android.”
Once you’ve entered the name, click the “Add Passkey” button.
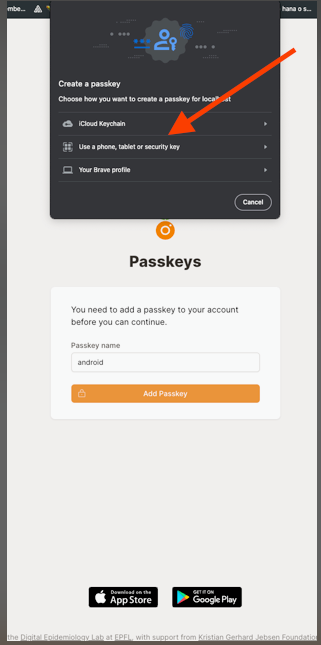
Choose the Type of Device
The browser will prompt you to choose the type of device you want to use. If you’re on a Mac, it may also propose storing the key in the iCloud keychain.
An easy solution is to use your phone. All modern Android or iPhone devices can be used.
Scan the QR Code
At this step, ensure both your phone and computer are on the same network.
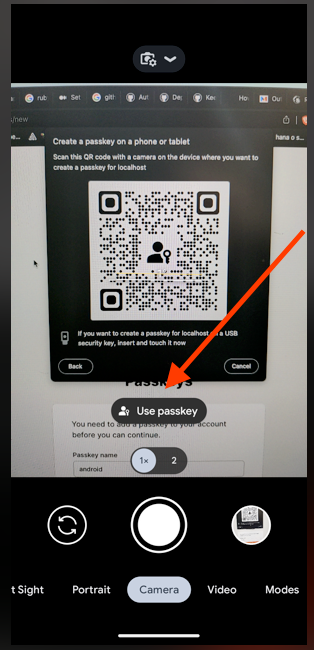
The browser will then display a QR code. Simply scan it with your phone camera.
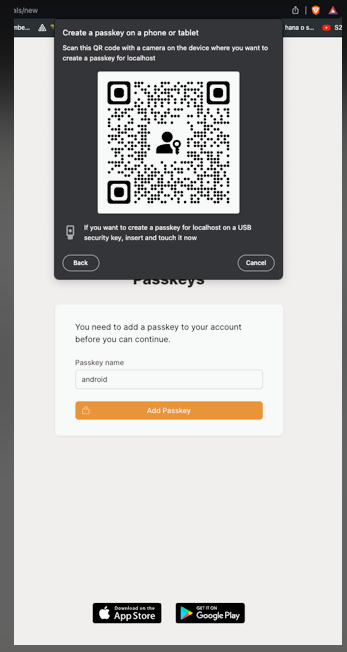
On your phone camera, still pointing at the QR code, you should see a “Use passkey” button. Tap on it.
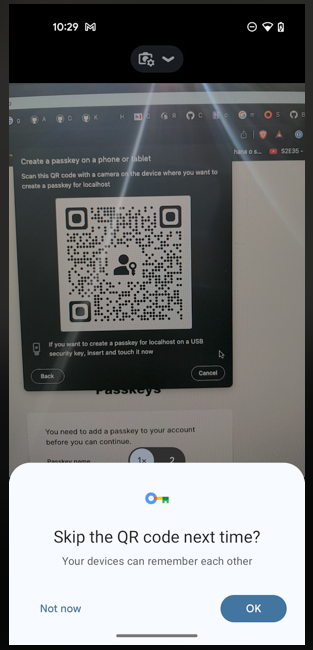
If your device shows a popup saying “Skip the QR code next time,” tap “OK.”
Enter Your Phone Password
Your phone will then ask you to enter your password to securely save the passkey. Enter it, and after a few seconds, the website should redirect you to your list of annotations.
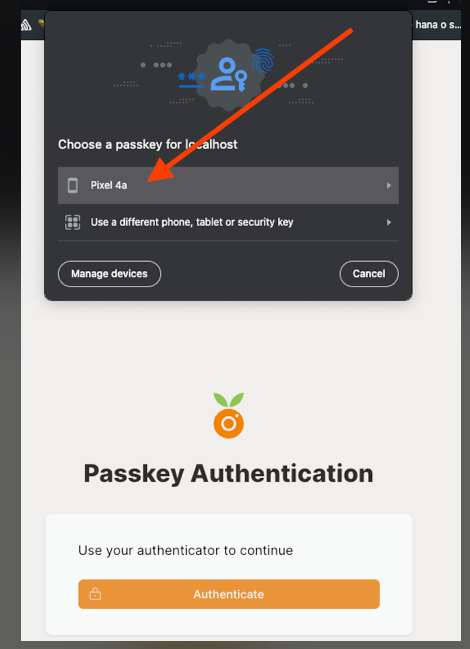
Next Sign-In
Next time you need to sign in, choose your phone from the list of proposed devices in the passkey popup. Your phone will ask you to enter the phone password, which will let you into the website.